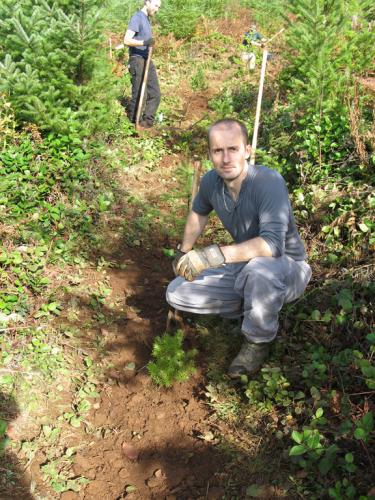
Building a Trail
Trail construction can be hard work so recruit friends and family to help. Set realistic goals, and take it one step at a time.
Step 1: Mark the trail
Keeping your design standards in mind, mark the centerline of the trail. Markers should be evenly spaced, from 20 feet apart in dense vegetation to 100 feet apart in open terrain. As you go, write the cumulative distance on the markers. Then, map the route using the distance markers and a compass or a GPS device.
What you’ll need: plastic flagging tape, wire flags or wooden stakes, a measuring wheel, a compass or GPS, notepaper, camera. A clinometer, also known as a tilt meter, to measure slope is also helpful. (Turn your iPhone or iPod Touch into a clinometer with this app.)
Step 2: Clear the trail
To clear a trail, go from small to big. So start by removing small trees, shrubs, and tree branches; then cut larger trees; and, finally, focus on stumps and boulder. Your design standards will dictate how much clearing is needed to achieve the right width, height and level of difficulty.
What you’ll need: Which tools you require will depend on the terrain you’re clearing, but this safety gear is a must: gloves, safety goggles, sturdy boots and a hard hat. Your trail tools may include brushing tools (weed cutters, pruning sheers), sawing and chopping tools (bow saw, axe), grubbing and raking tools (hoe, fork), digging and tamping tools (shovel, sledgehammer), lifting and hauling tools, various power tools (chainsaw, stump grinder) and more.
Before you start, consult AmericanTrails.org ‘s illustration compendium of trail tools.
Step 3: Construct the tread
The best strategy to creating a tread surface is not to have to create one at all -- by building trail on soils that will stand up to trail use. But even the best laid trails may require hardening in places where they become muddy or eroded, or where the trail needs to be well-defined to protect the surrounding ecosystem. Choose a natural tread material, such as rocks or stone pavers, that will withstand compaction, displacement and erosion.
What you’ll need: Natural surface trail materials such as crushed stone, rock and soil; digging and tamping tools.
Step 4: Signing the trail
We’ve all experienced it: that moment during a hike when you’re suddenly “lost in the woods,” scanning to relocate the trail and wondering where you went wrong. That’s when so-called “confidence markers”-- paint marks on rocks or trees that reassure users -- can be a person’s best friend. These markers are just one of four kinds of signs you’ll want post in the woods. They can be as sophisticated or as simple as you’d like. The important thing is that they convey the following information to users:
- Trailhead sign: A sign at the start of trail indicating the trail route (including distance), the number of trails, trail uses and rules, trail markers, warnings and how to get help in the case of an emergency.
- Directional signs: Signs with arrows to help users navigate intersections, a sharp bend, a fork or a crossing.
- Warning signs: Indicates hazards such as poisonous plants, falling rocks, unsafe drinking water, and environmentally sensitive areas such as natural spring or fragile vegetation.
Learn More
- The Forest Service developed a site on Sustainable ATV Trails which has information that is relevant for all types of trails, not just those for ATVs. It includes good resources on what water can do to your trails, building your trails to keep water off, go over water and go over weak soil and then managing your trails after they are built.
- University of Minnesota Extension has some good information on building water bars from logging debris and slash.
- New Hampshire Homeowner's Guide to Stormwater Management: Geared towards residences but includes really good Do-It-Yourself instructions on a range of activities including Installing a Water Bar
How can I get more tips?
It’s simple! Enter your email below.

